-
Contents
-
Table of Contents
-
Troubleshooting
-
Bookmarks
Quick Links
Related Manuals for TEFAL Pro Style Care IT8460
Summary of Contents for TEFAL Pro Style Care IT8460
-
Page 1
IT84XX www.tefal.com… -
Page 2: Important Safety Instructions
IMPORTANT SAFETY INSTRUCTIONS • When using your appliance, basic precautions should always be followed, including the following: • Read all instructions before using this appliance. • This appliance has been designed for indoor, domestic use only. Any commercial use, inappropriate use or failure to comply with the instructions, the manufacturer accepts no responsibility and the guarantee will not apply.
-
Page 3
• This appliance can be used by children aged from 8 years and above and persons with reduced physical, sensory or mental capabilities or lack of experience and knowledge if they have been given supervision or instruction concerning use of the appliance in a safe way and understand the hazards involved. -
Page 4
• Never leave the appliance unattended when it is connected to the mains. Before storing the appliance, once it is unplugged, please wait until it has cooled down (around 1 hour). • Burns could occur from touching hot metal or plastic parts, hot water or steam. -
Page 5
• The appliance must be used and placed on a at, stable, heat-resistant surface. When you place the appliance on its stand, ensure that the surface on which the stand is placed is stable. • The appliance must not be used if it has been dropped, if there are visible signs of damage or if it is leaking. -
Page 6: Troubleshooting
TROUBLESHOOTING Problems Possible causes Solutions There is no steam. The appliance has not Check that the appliance has been been turned on. plugged in correctly. Next press the On/O pedal, the power indicator light located at the front of the appliance will come on.
-
Page 7
Depending on model … -
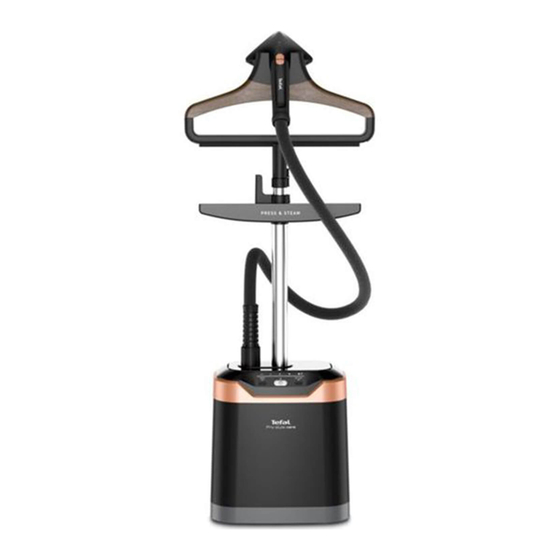
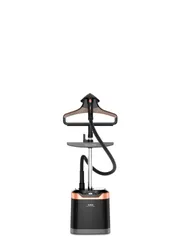
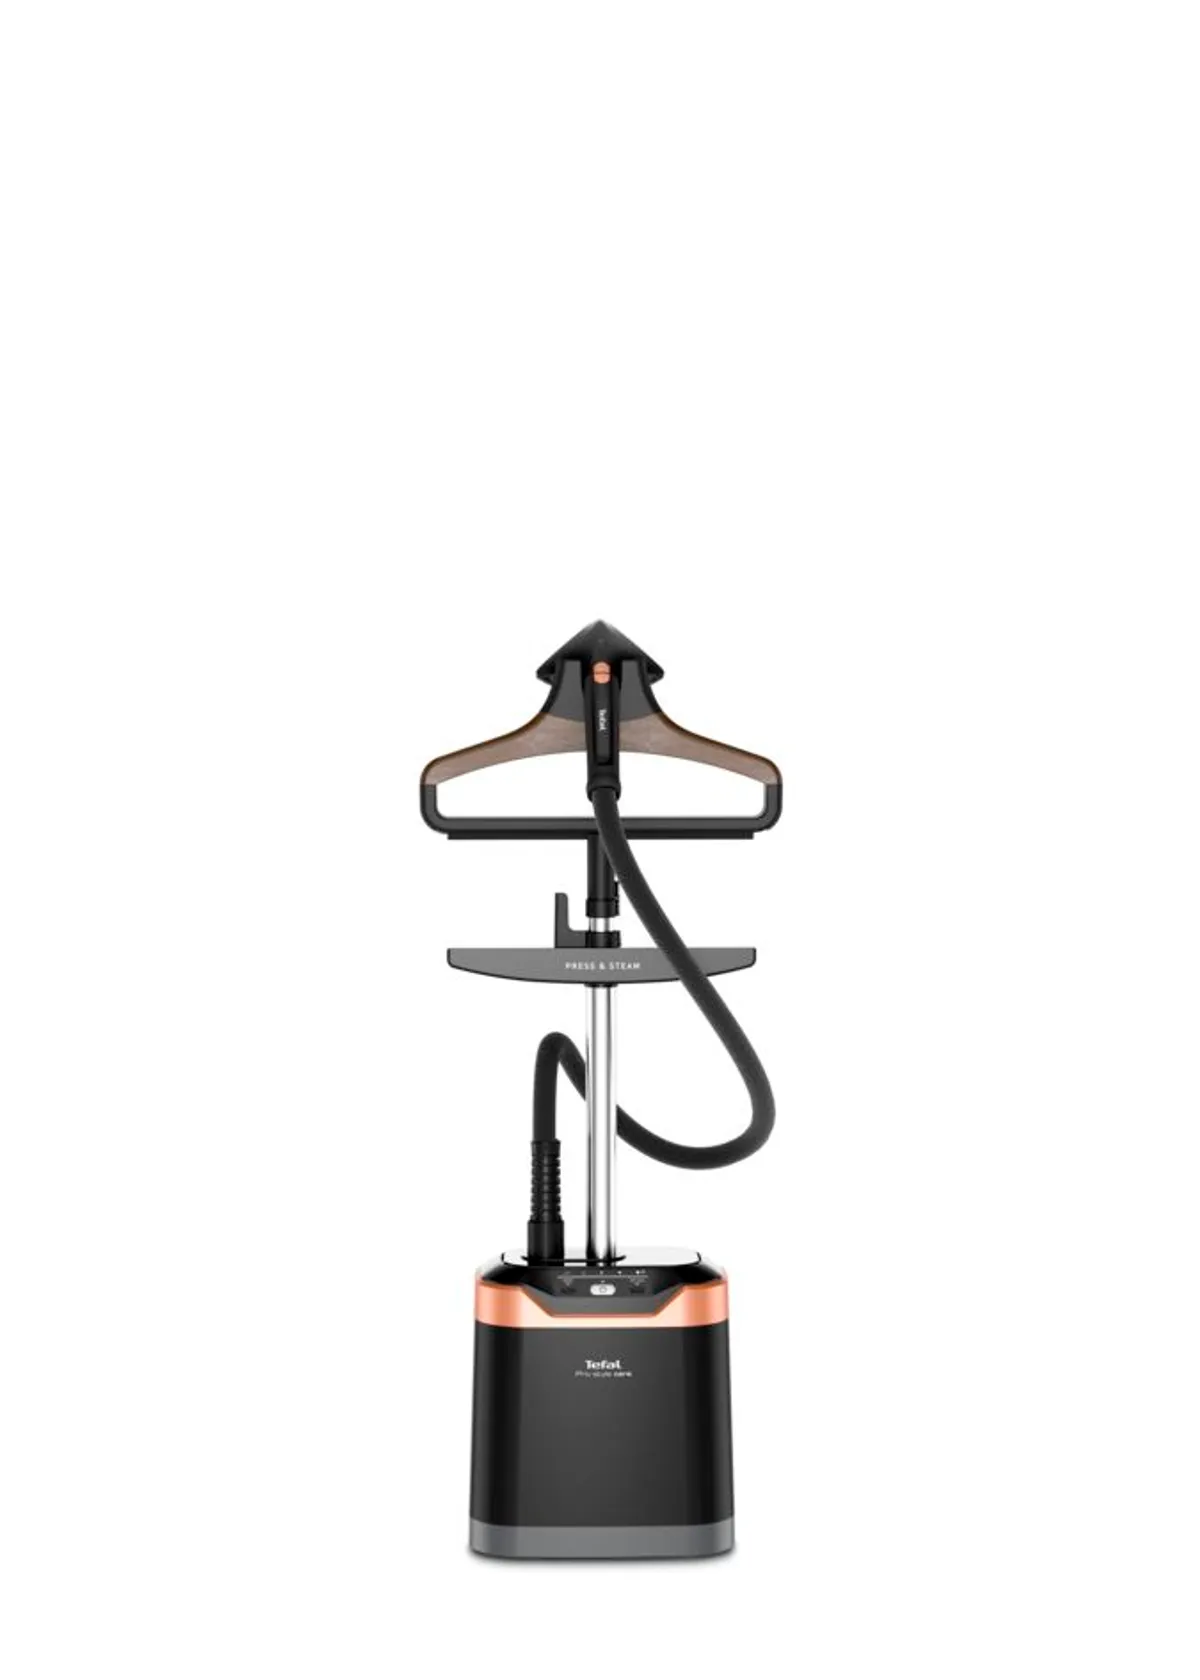
Page 8: Product Description
PRODUCT DESCRIPTION 10. EN Hanger + hanger hook Removable Water tank 11. EN Steam Head* Draining Cap 12. EN Steam Hose Removable vertical support* Adjustable pole + 13. EN adjustable vertical support Fabric Brush * hook* + Power cord hook 14.
-
Page 9
1. ASSEMBLY Open the two pole locks. Extend the pole fully. Close the two locks. Insert the pole in the housing until you hear a «click». -
Page 10
Unlock the hanger and fully insert it vertically on top of the pole and lock it. Position the steam head on its craddle. Take out the vertical support* from its bag and unroll it. Hook the upper part of the vertical support* on rear hanger. -
Page 11: Before Use
Unwind the support and insert it in the adjustable hook, by adjusting the tension with the dedicated hook and lock it. 2. BEFORE USE Remove the water tank. Remove the cap and ll the water tank. 1.3L 44OZ Depending on model…
-
Page 12
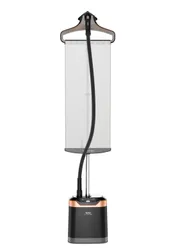
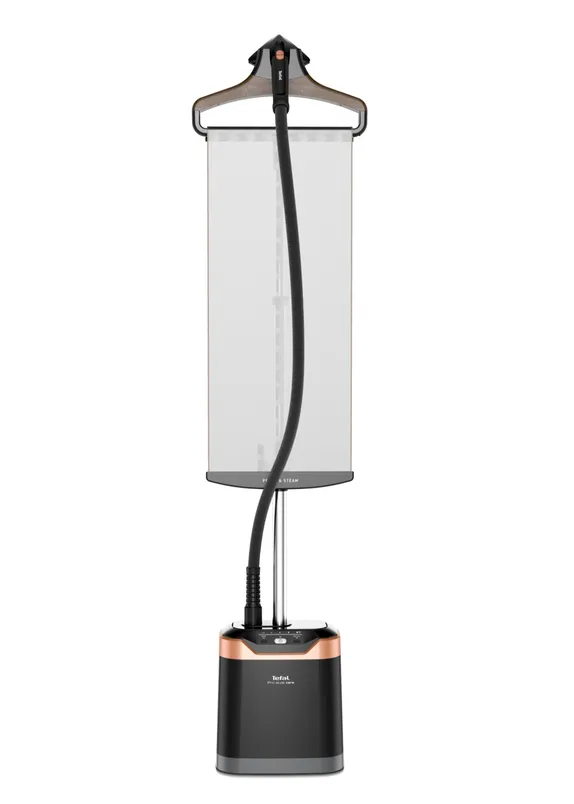
Fully screw the water tank cap and insert tank back in appliance. Add the garment of your choice on the hanger. 3. ACCESSORIES Ensure the appliance is unplugged and completely cool when adjusting or removing accessories. Depending on model… -
Page 13
The fabric brush opens the weaves of the fabrics for better steam penetration. The steam bonnet lters water impurities and protects fabrics from water drips. The crease attachment is used to make pant creases easily or to remove stubborn wrinkles. Put your fabric in the space between the two accessory parts. -
Page 14
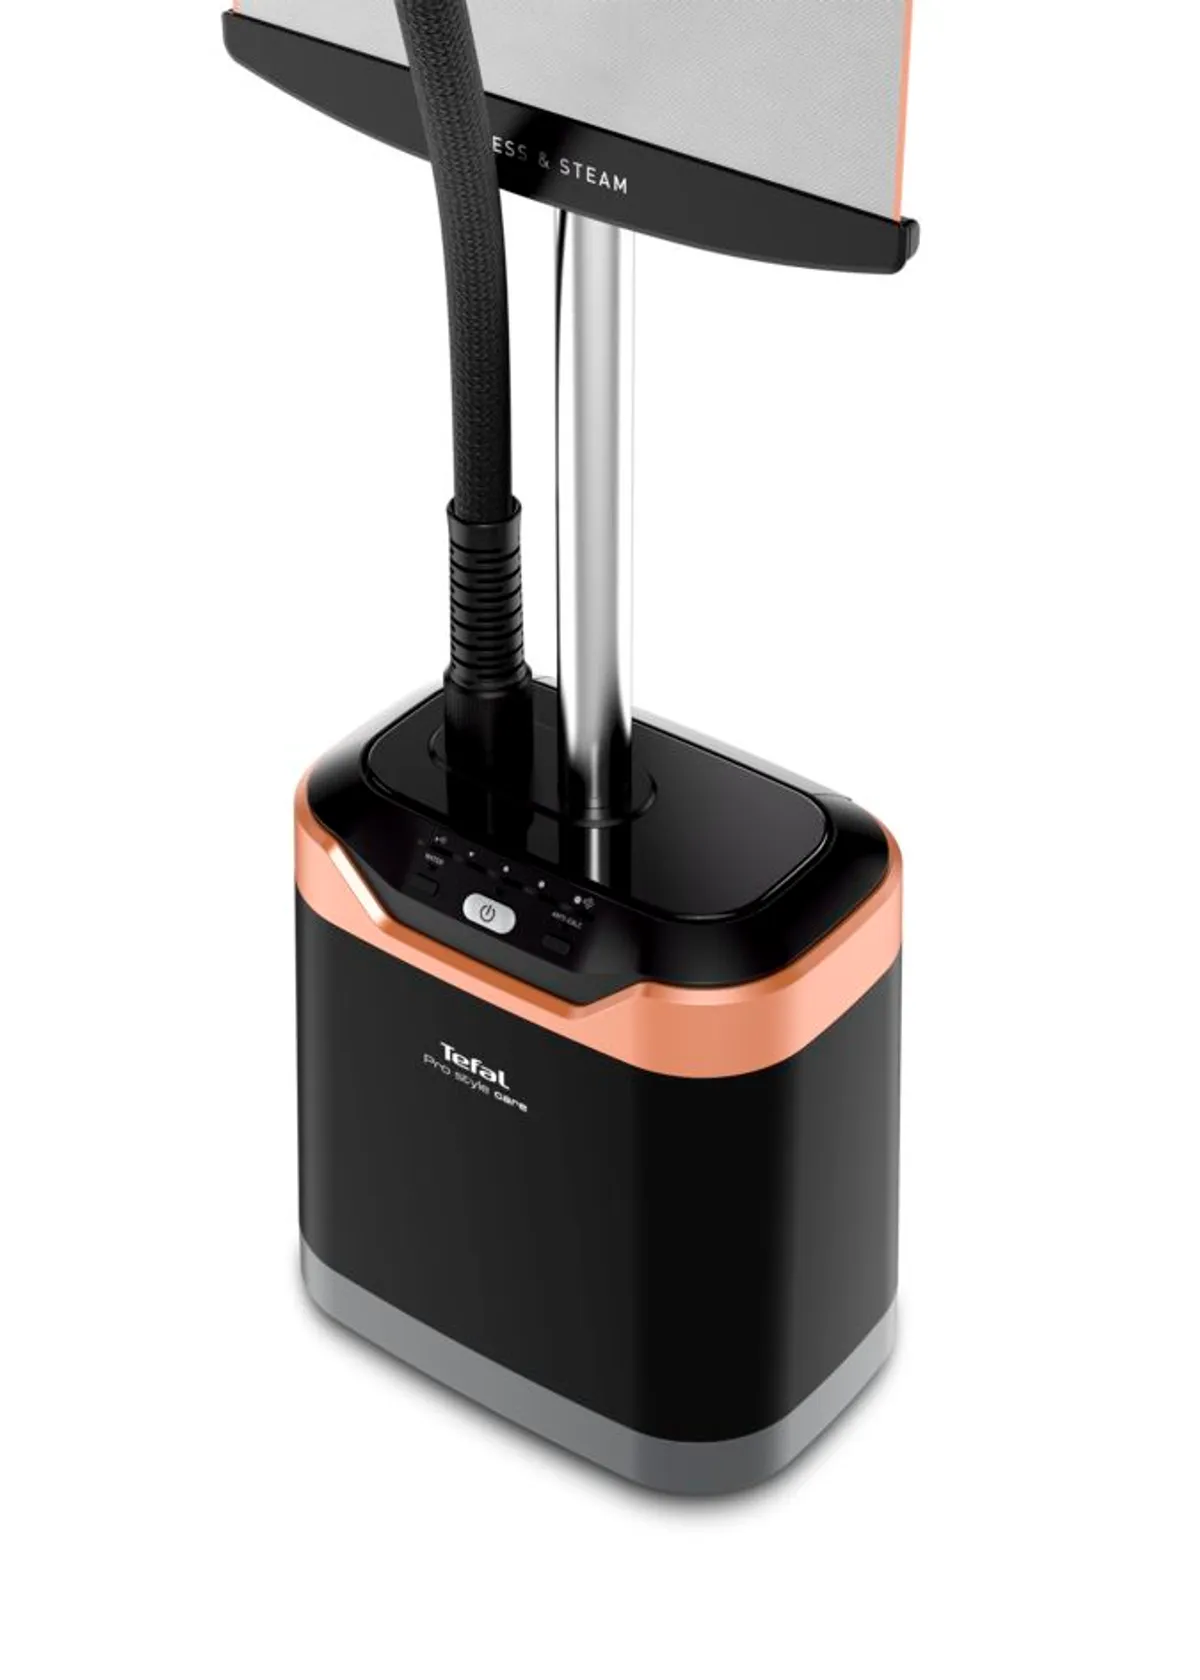
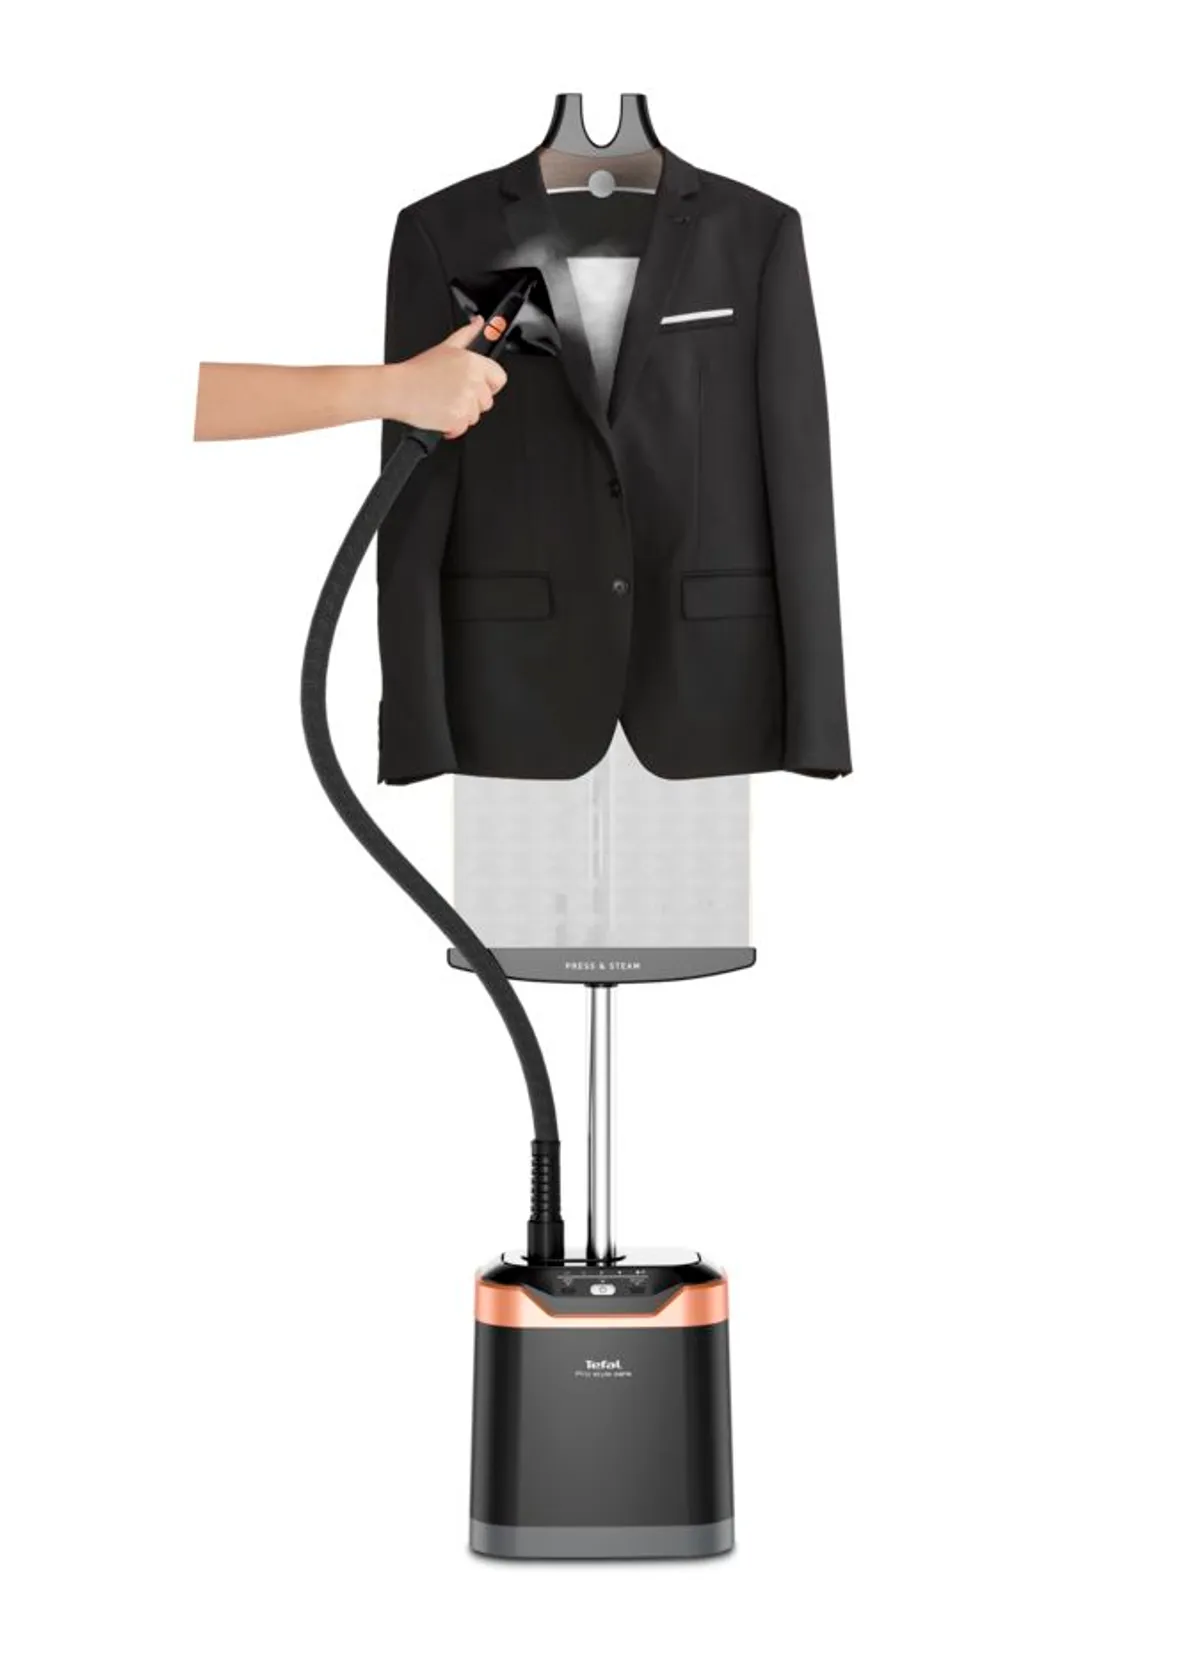
4. USE The appliance must remain in a horizontal position on the oor. Totally unroll the cord and plug the appliance. Push the ON/OFF button, in order to switch on the appliance. The leds will ash for approx 45 seconds. After 45 seconds approximately, steam will come out. -
Page 15
Adjust steam output by pushing the buttons + and — on the steam head. Level max = all leds are bright = steam level 2 = 2 led bright = steam low level 0 = no led bright = no steam Depending on model… -
Page 16: During Use
For optimal use, press the steam jets on your garment from top to bottom. Never steam a garment while it is being worn. Always hang on the stand or on a hanger. 5. DURING USE If «WATER» button is ashing, the level of water in the water tank is low and must be lled.
-
Page 17
The appliance must be switched o , push the ON/OFF button in order to switch it o . Unplug, then remove the water tank. Remove the cap then ll in the water tank. 1.3L 44OZ Fully screw the water tank cap and insert tank back in appliance. -
Page 18: After Use
Plug in the appliance. Push the ON/OFF button in order to switch on the appliance.The steam level will ash on maximum level for 45 seconds. 6. AFTER USE Long push the ON/OFF button in order to switch o the appliance.
-
Page 19
Unplug the appliance. Remove the water tank. Unscrew the cap and then empty the water tank completely in a sink. Screw back the cap and place the water tank back in the appliance. -
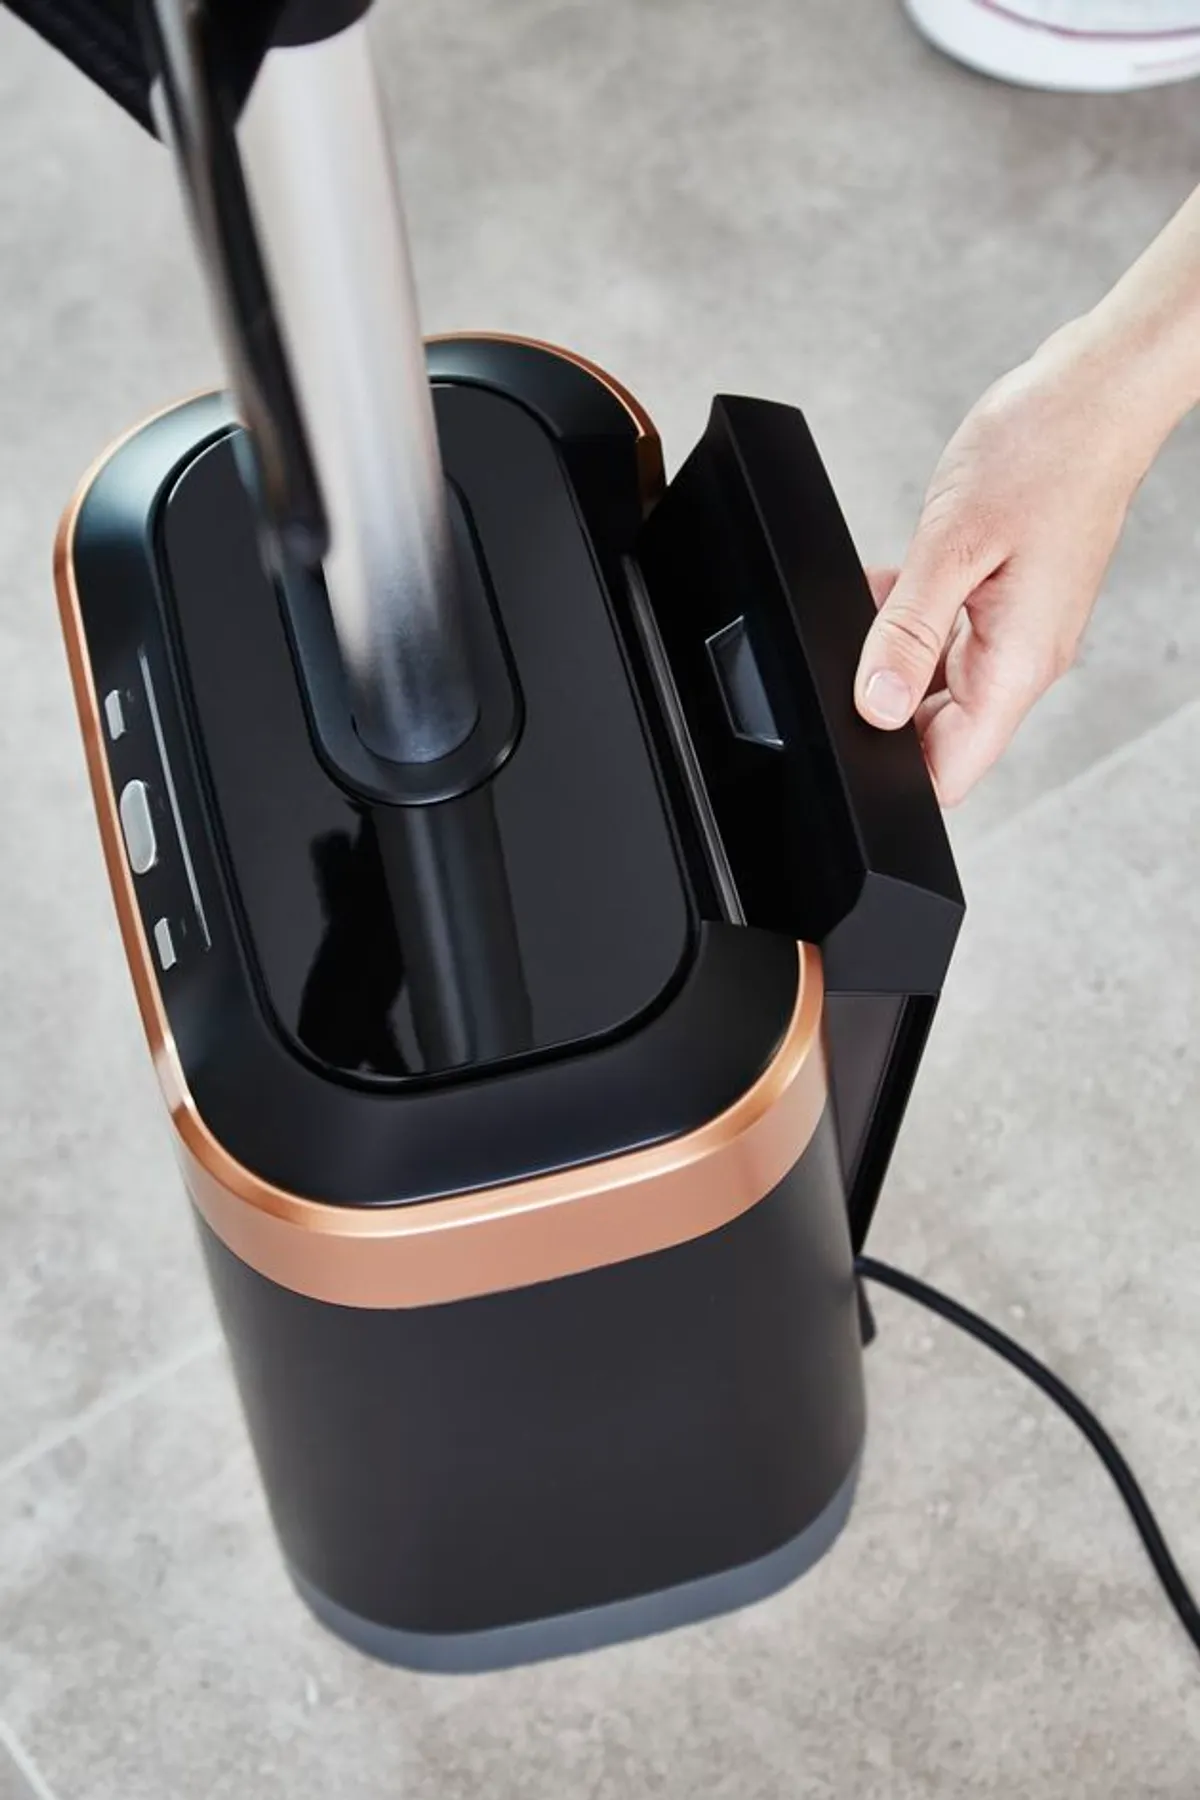
Page 20: Descaling Procedure
Roll up the power cord and place it on its power cord hook. Wait for an hour for your appliance to cool before storing. Make sure the water tank is empty before moving the appliance on its wheel. 7. DESCALING PROCEDURE To apply when the «anti-calc»…
-
Page 21
WARNING! Wait for an hour for the appliance to completely cool down. Unlock and half collapse the pole, lock it. Remove the water tank. Fill in 0.5L(litre) of water in the 0.5 L 17OZ appliance tank inlet. Water… -
Page 22
Shake gently the appliance to remove the main particles. Place the appliance over a sink & unscrew the «Anti calc» cap by turning it anti clockwise. Be careful , water might be hot. Never unscrew the cap when the appliance is in use. Wait for full cool down. -
Page 23
Tilt the appliance to empty water in a sink. Set back the draining cap, fully screw it until complete locking and check there is no leakage. Unlock the pole , extend fully, lock. Place the steam head on its craddle. -
Page 24
Remove the cap then ll the water tank. 1.3L 44OZ Fully screw the water tank cap and insert tank back in appliance. Plug in and switch on the appliance. Let the appliance run until water tank is emptied completely. -
Page 25
8. CLEANING Wait an hour for complete cool down. Only use a sponge with water to clean the base. Never put water on control panel. Only use a sponge with water to clean the steam head. Never put water on +/- buttons and leds Never use detergents when cleaning your appliance. -
Page 26
Never wash or rinse appliance directly over a sink. Never wash or rince the steam head directly over a sink. The sponge below the water tank can be removed and cleaned with tap water. Don’t forget to put it back. -
Page 27
9100035167…
Прибор не подключен к сети или выключен. ==> Убедитесь в том, что прибор должным образом подключен к розетке, а выключатель находится в положении «I».
В резервуаре недостаточно воды. ==> Отключите прибор, вынув вилку из розетки, и наполните резервуар.
Насос не активирован. ==> Нажмите и подержите в течение нескольких секунд кнопку выпуска пара для активации насоса.
Неправильно установлен съемный резервуар. ==> Убедитесь в том, что резервуар установлен должным образом.
Прибор функционирует в режиме ожидания. ==> Нажмите на кнопку «on/off» (вкл/выкл) и дождитесь, пока индикатор перестанет мигать.
Прибор не подключен к сети или выключен. ==> Убедитесь в том, что прибор должным образом подключен к розетке, а выключатель находится в положении «I».
Прибор функционирует в режиме ожидания. ==> Нажмите на кнопку «on/off» (вкл/выкл) и дождитесь, пока индикатор перестанет мигать.
Неправильно установлен резервуар с водой, либо не закрыт клапан ==> Убедитесь в том, что клапан закрыт и резервуар установлен должным образом.
В приборе образовалась накипь, воспользуйтесь приведенными в инструкции рекомендациями по удалению накипи.
Кнопка выпуска пара установлена в положение непрерывного выпуска пара. Однократным нажатием на кнопку измените режим.
Вы использовали химические вещества или добавки для удаления накипи.
Не добавляйте такие вещества в резервуар для воды. В них содержатся органические отходы и минералы, которые конденсируется под воздействием тепла и вызывают вытекание воды, образование коричневой жидкости и преждевременное изнашивание прибора.
После ознакомления с инструкциями по запуску прибора в руководстве пользователя убедитесь, что электрическая розетка находится в рабочем состоянии, подключив к ней другое устройство. Если прибор не заработал, не пытайтесь разобрать или отремонтировать его. Отнесите прибор в авторизованный центр технического обслуживания.
Не пользуйтесь устройством. Во избежание опасности, замените кабель в центре технического обслуживания.
6 отзывов
в избранное
сравнение


20 999₽
25 999₽
Хотите приобрести только это?
Купить в один клик
В наличии:
Характеристики:
- Мощность: 1800 Вт
- Подача пара: 35 г/мин
- Резервуар для воды: Съемный, 1.3 литра
- Управление: Механическое/электронное