Zircon MultiScanner Pro SL — Wall Scanner Manual
Introduction
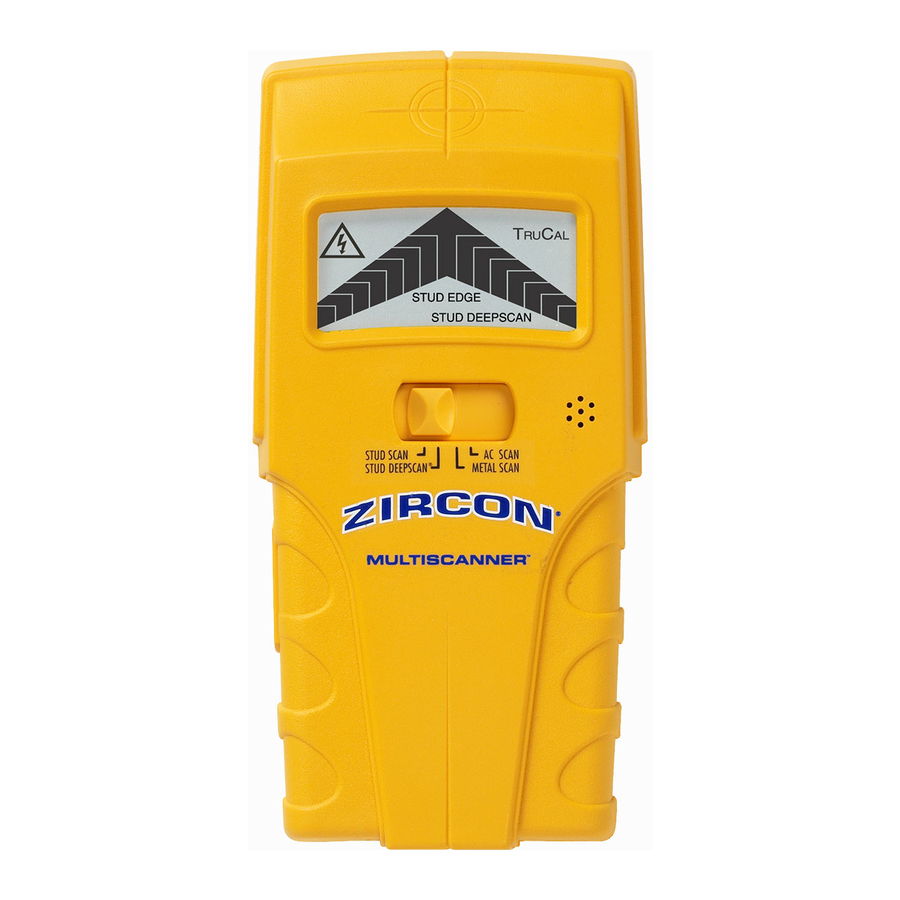
The Wall Scanner and MultiScanner® scanners use four different scanning modes to detect studs, metal, and hot unshielded AC wiring up to 11⁄2 in. (38 mm) deep behind walls, floors, and ceilings. It also detects rebar in concrete. Wall Scanner and MultiScanner® Pro SL also features the SpotLite® Pointing System, which automatically displays a beam of light over the edge of a stud or near metal/AC.
U.S. Patents 4099118, 4464622, 5352974, 5619128, 6023159, and 6259241
U.S. Design Patent D427166
Canada Patents 1106932, 2141553, and 2341385
G.B Patents 2117909B, and 2159630B
Japan Patent 3581851, and Patents Pending
P/N 62117 Rev A 12/06
MODE SELECTION
- When looking for studs, always start with the scanner in Stud Scan mode, which scans through surfaces up to 3 ⁄ 4 inch thick.
- DeepScan ® mode should only be selected if you know the surface is built-up and thicker than normal construction. You should always scan the area in Stud Scan mode first, to verify that DeepScan is needed. DeepScan is for depths between 3 ⁄ inch and 1 1 ⁄ 4 2 inches.
- When scanning for metal pipes or rebar, select Metal Scan mode.
- When scanning for electrical wires, select AC Scan mode.
IMPORTANT OPERATING TIPS
PLEASE READ CAREFULLY
- Tool Position. For proper use, always place scanner flat against the surface before turning on power.
- Power. Depress and hold in the power button continuously while in use.
- Calibration. Place unit flat on wall. Press and hold the power button. Do not move the unit until calibration is complete (1-2 seconds). When calibration is complete, the TruCal ® indicator will appear on the screen.
- Operation. Move the unit slowly, while keeping it flat against the wall. Do not rock, tilt, or lift it.
- If you calibrate over a stud in DeepScan mode, you probably will not detect any studs. Move the unit a few inches right or left, release the power button, and start over.
SCANNING IN STUD SCAN OR DEEPSCAN® MODE
After calibrating (see number 2 ), continue to hold the power button and slowly slide the unit across the surface. When full arrow appears on the LCD and steady tone sounds, you have located the edge of the stud. Mark this spot (see illustrations below). On the Wall Scanner and Pro SL version, the SpotLite® Pointing System will also shine a beam of light at the stud edge.
Continue holding power button in and scan beyond the marked spot until arrow bars disappear.
Without releasing power button, slide unit in reverse direciton to locate the other edge of stud. Mark this second spot. Middle of stud is centered between the two marks.
Note: DeepScan may report other things besides studs. Please see numbers 5 and 7
Select mode. After calibrating (see number 2 ), continue to hold the power button and slowly slide the unit across the surface. Mark the spot where the display bars peak and a steady tone sounds. On the Wall Scanner and Pro SL model the SpotLite will also shine a beam of light. Continue in the same direction until display bars disappear.
Reverse direction and mark the spot where the display bars peak from that direction. The midpoint of the two marks is the approximate center of the object.
In Metal Scan mode, if you calibrate directly over metal, you probably will not detect any metal. Move the unit a few inches right or left, release the power button, and start over.
In AC Scan mode, if you calibrate over AC voltage, the unit will automatically recalibrate when you move it. automatically recalibrate when you move it.
AC WireWarning™
For your safety AC WireWarning™ works continuously in all modes. When AC voltage is detected, the AC Alert warning icon will be displayed on the screen.
Wires deeper than 2 in. (51 mm), in conduit, or behind plywood shearwall may not be detected. Use extreme caution under these circumstances or whenever hot AC wires are present. Always turn off power when working near electrical wires.
OPERATING CAUTIONS
Depending on the proximity of electrical wiring or pipes to the wall surface, the Wall Scanner may detect them in the same manner as studs, especially in DeepScan mode. Caution should always be used when nailing, sawing, or drilling into walls, floors, and ceilings that may contain these items. Because of its increased sensitivity, DeepScan mode may also detect other things in walls that are not studs.
To avoid surprises, remember that studs or joists are normally spaced 16 in.
(406 mm) or 24 in. (610 mm) apart and are 11⁄2 in. (38 mm) in width. Anything closer together or a different width may not be a stud, joist, or firebreak. Always turn off the power when working near electrical wires.
Working With Different Materials
- Wallpaper: The Wall Scanner functions normally on walls covered with wallpaper or fabric, unless the materials are metallic foil, contain metallic fibers, or are still wet after application.
- Lath & plaster: Due to irregularities in plaster thickness, it is difficult for the Wall Scanner to locate studs in Stud Scan mode. Change to Metal mode to locate nail heads holding laths to studs. If plaster has metal mesh reinforcement, the Wall Scanner will be unable to detect anything through that material.
- Textured walls or acoustic ceilings: When scanning a ceiling or wall with an uneven surface, place thin cardboard on ceiling or wall and scan over the cardboard using DeepScan mode. Calibrate with cardboard in place.
- Wood flooring, subflooring, or gypsum drywall over plywood sheathing: use DeepScan mode.
- Wall Scanner cannot scan for wood studs and joists through ceramic floor tile or carpeting and pad.
- In problem situations, try using Metal Scan to locate nails or drywall screws that line up vertically where a stud is positioned.
Note: Sensing depth and accuracy can vary due to moisture content of materials, wall texture, and paint.
CHANGING THE BATTERY
Press battery door release down with your finger or a coin and remove door.
Connect 9-V battery to cable and place inside.
Replace battery door and snap shut. Battery will last approximately 2 years under normal conditions.
FCC Part 15 Class B Registration Warning
This equipment has been tested and found to comply with the limits for a Class B digital device, pursuant to Part 15 of FCC Rules. These limits are designed to provide reasonable protection against harmful interference when the equipment is operated in a residential installation. This equipment generates, uses, and can radiate radio frequency energy and, if not installed and used in accordance with the instructions, may cause harmful interference to radio communications. However, there is no guarantee that interference will not occur in a particular installation. If this equipment does cause harmful interference to radio or television reception, which can be determined by turning the equipment off and on, the user is encouraged to try to correct the interference by one or more of the following measures:
- Reorient or relocate the receiving antenna.
- Increase the separation between the equipment and receiver.
- Connect the equipment into an outlet on a circuit, different from that which the receiver is connected (if applicable).
- Consult the dealer or an experienced radio/TV technician for help.
HELPFUL HINTS
(See also Important Operating Tips)
| Situation | Probable Causes | Solutions |
| Not certain the object found is a stud in DeepScan mode. |
|
|
Display indicates «Restart at New Location» |
|
|
Working in DeepScan mode and can’t detect studs |
|
|
| Detects other objects besides studs in Stud Scan and DeepScan modes. |
|
|
| Area of voltage appears much larger than actual wire. (AC only) |
|
|
Center arrow doesn’t appear on LCD |
|
|
Difficulty detecting metal |
|
|
Image of metal object appears wider than actual size |
|
|
Constant readings of studs near windows and doors |
|
|
You suspect electrical wires, but do not detect any |
|
|
Documents / Resources
Download manual
Here you can download full pdf version of manual, it may contain additional safety instructions, warranty information, FCC rules, etc.
Download Zircon MultiScanner Pro SL — Wall Scanner Manual
- Главная
-
Zircon
-
Детекторы скрытой проводки
-
MultiScanner Pro SL
На этой странице вы найдёте полный список документов на Детекторы скрытой проводки Zircon MultiScanner Pro SL.
Выберите необходимый PDF файл.
-

Детекторы скрытой проводки
Zircon MultiScanner Pro SL Руководство по эксплуатацииТип файла
PDFРазмер
561 KbКол-во страниц
2Просмотров
8129Download / Read online
- 1
Другие Zircon Детекторы скрытой проводки
-
Zircon MultiScanner Pro SL Руководство по эксплуатации
PDF файлов
1Просмотров
10490 -
Zircon TriScanner Pro / Contractor Руководство по эксплуатации
PDF файлов
1Просмотров
6632 -
Zircon TriScanner Pro SL Руководство по эксплуатации
PDF файлов
1Просмотров
3094 -
Zircon StudSensor Pro SL Руководство по эксплуатации
PDF файлов
1Просмотров
2914 -
Zircon iSensor Руководство по эксплуатации
PDF файлов
1Просмотров
2512 -
Zircon MetalliScanner MT 6 Руководство по эксплуатации
PDF файлов
1Просмотров
2491
Другие устройства Zircon
Вопросы
-
слабая батарея
Ноутбуки
Acer
1310
Alex 12.02.2016 17:26
Ранее вы смотрели
Производители
Beaumark
Broil King
Brookstone
Cosco
Double Power Technology
Hand Held Products
Jenn-Air
Kaspersky Lab
plawa-feinwerktechnik GmbH & Co.KG
White Outdoor
Типы устройств
VoIP
Аудио и видео стереосистемы
Детские аксессуары
Инфракрасные обогреватели
Монтаж
Отслеживание активности
Кнопочная панель
Наружные (уличные) антенны
Кухонные весы
Извещатели тепловые
Устройства
American DJ Emrald Beam
American Standard Condensing Gas Furnaces Fan Assisted Combustion System
Baby Trend 1866CT
Bolens 840 thru 849
Daewoo Electronics DTQ-14V5FS/20V4FS
Fender Stratocaster 0137002
FreeMotion F3040
Magnavox AZ 8051
Onkyo CDR-201A
freeuserguide.ru
About Us
Contacts
Disclamers
Privacy Policy
Эта страница полезна для вас? Поделитесь ссылкой:
Производитель Zircon
Категория Stud Sensor
Документы, которые мы получаем от производителя устройства Zircon Pro SL мы можем разделить на несколько групп. Это в частности:
— технические чертежи Zircon
— инструкции обслуживания Pro SL
— паспорта изделия Zircon
— информационные брошюры
— энергетические этикетки Zircon Pro SL
Все из них важны, однако самую важную информацию с точки зрения пользователя мы найдем в инструкции обслуживания Zircon Pro SL.
Группа документов, определяемая как инструкции обслуживания, делится также на более подробные типы, такие как: Инструкции монтажа Zircon Pro SL, инструкции обслуживания, короткие инструкции или инструкции пользователя Zircon Pro SL. В зависимости от потребностей, Вам необходимо поискать требуемый документ. На нашем сайте Вы можете просмотреть самую популярную инструкцию использования изделия Zircon Pro SL.
Полная инструкция обслуживания устройства Zircon Pro SL, как должна выглядеть?
Инструкция обслуживания, определяемая также как пособие пользователя, или просто «руководство» — это технический документ, цель которого заключается в использовании Zircon Pro SL пользователями. Инструкции пишет, как правило технический писатель, языком, доступным для всех пользователей Zircon Pro SL.
Полная инструкция обслуживания Zircon, должна заключать несколько основных элементов. Часть из них менее важная, как например: обложка / титульный лист или авторские страницы. Однако остальная часть, должна дать нам важную с точки зрения пользователя информацию.
1. Вступление и рекомендации, как пользоваться инструкцией Zircon Pro SL — В начале каждой инструкции, необходимо найти указания, как пользоваться данным пособием. Здесь должна находится информация, касающаяся местонахождения содержания Zircon Pro SL, FAQ и самых распространенных проблем — то есть мест, которые чаще всего ищут пользователи в каждой инструкции обслуживания
2. Содержание — индекс всех советов, касающихся Zircon Pro SL, которое найдем в данном документе
3. Советы по использованию основных функций устройства Zircon Pro SL — которые должны облегчить нам первые шаги во время использования Zircon Pro SL
4. Troubleshooting — систематизированный ряд действия, который поможет нам диагностировать а в дальнейшем очередность решения важнейших проблем Zircon Pro SL
5. FAQ — чаще всего задаваемые вопросы
6. Контактные данные Информация о том, где искать контактные данные производителя / сервисного центра Zircon Pro SL в данной стране, если самостоятельно не получится решить проблему.
- Главная
- Статьи и справочные материалы
- Архив до 2010 года
- MultiScannerTM Pro
MultiScannerTM Pro

Передовые технологии сканирования по обнаружению элементов крепежа, металлических предметов и проводов под напряжением в стенах, под полом и потолком:
Уникальный ползунковый переключатель дает возможность пользователям выбирать желательный режим, в том числе отключать режимы сканирования крепежа и металла, чтобы сосредоточиться только на поиске проводки под напряжением.
Помогая в маркировании границ найденного предмета, система целеуказания SpotLite проецирует световой пучок на стену в место, где MultiScanner Pro обнаружил край объекта.
MultiScanner Pro позволяет избежать сверления или вбивания гвоздей в проводку под напряжением, неосторожного перерезания труб и т.д.
MultiScanner также находит арматуру в бетоне, что позволяет сохранить дорогостоящие сверла целыми.
- Система указания цели SpotLite автоматически проецирует луч света поверх границ предмета.
- В режиме сканирования металла Metal Scan находит арматуру в бетоне на глубине до 7,6 см (3″) и кабелепроводы или медные трубы на глубине до 3,8 см (1-1/2″) в стенах, под полом или потолком.
- В целях безопасности постоянно отслеживает провода под напряжением (AC detection) во всех режимах работы.
- Удобный для считывания LCD дисплей и звуковой сигнал индицируют цель.
- Четыре переключающихся режима работы.
- В режиме сканирования DeepScan® для объектов большой толщины сканирует сквозь сухую штукатурку, фанеру, большинство видов полов на глубину до 3,8 см (1-1/2″) для обнаружения деревянного или металлического крепежа или балок прекрытия.
- Патентованная мгновенная калибровка TruCal и наличие индикатора «над целью» увеличивают точность.
- Ударопрочный корпус с удобной рукояткой.
Техническая информация
| Габариты: | 3,0 см высота x 7,6 см ширина x 15,2 см длина (1,2″ высота x 3,0″ ширина x 6,0″ длина) |
| Вес: | 181 г (6,4 унции) без батарейки |
| Тип Батареи: | 9-тивольтовая щелочная (в комплект не входит). |
| Ресурс батареи: | Два года по 10 минут в день со щелочной батареей |
| Точность: | В режиме сканирования Stud Scan mode, используя двойное сканирование и процедуру маркирования, пользователь может определить центр деревянного или металлического предмета сквозь стену сухой кладки толщиной до 2 см (3/4″) с номинальной точностью 3 мм (1/8″). В режиме глубокого сканирования — DeepScan® mode, используя двойное сканирование и процедуру маркирования, пользователь может определить центр деревянного или металлического предмета сквозь стену сухой кладки толщиной до 3,8 см (1-1/2″) с номинальной точностью 5 мм (3/16″). В режиме сканирования металла — Metal Scan mode, используя двойное сканирование и процедуру маркирования, пользователь может определить центр медной трубы 1,3 см (1/2″) сквозь стену сухой кладки толщиной до 3,8 см (1-1/2″) с номинальной точностью 3 мм (1/8″). Используя ту же самую процедуру, пользователь может определить центр арматурного профиля 1,3 см (1/2″) сквозь бетон толщиной до 7,6 см (3″) с номинальной точностью 1,3 см (1/2″). В режиме сканирования проводки — AC Scan mode — местоположение провода под напряжением 90–250 В, частотой 50–60 Гц (не экранированного) в стене с типичной толщиной 5 см (2″) определяется внутри диапазона 15,2 см (6″). |
| Звуковой сигнал: | Громкость — 65 дБ на расстоянии 46 см (18″). |
| Обнаружение проводки: | Местоположение провода под напряжением 90–250 В, частотой 50–60 Гц (не экранированного) в стене с типичной толщиной 5 см (2″) определяется внутри диапазона 30 см (12″). |
| Рабочая температура: | от -7° C до +49° C (20–120° F) |
| Температура хранения: | от -29° C до 66° C (от -20° F до +150° F) |
| Влажность: | Относительная влажность 80% (без конденсирования). |
| Ударопрочность: | Удар с максимальной высоты 1,8 м (6 футов) о бетон. |
| Водостойкость: | Стойкий к воде и брызгам. Но не водонепроницаемый. |
Информация для заказа:
| Партномер | Описание |
| MultiScanner Pro SL | Прибор-детектор (с лазерным лучом) для обнаружения эл. проводов, деревянных и металл., стоек с глубиной залегания от 38 мм до 76 мм, аудио-сигнал |
Подпишитесь на скидки
и новости компании